How to Take Professional Product Photos Without a Photographer
A professional product shoot in Malaysia runs RM300–800 per session, plus per-photo retouching. For a shop with 40 SKUs that's a four-figure bill every time your catalogue changes. Here's the thing the photography industry doesn't advertise: for e-commerce listings — not billboards, not magazine spreads — a phone photo plus the right process gets you 90% of the way there, and AI now covers the last 10%.
This is the full workflow we'd give a friend opening a Shopee or TikTok Shop store: shoot once, cheaply, then let software do the expensive part.
Step 1: Get the raw photo right (15 minutes, RM0)
AI can replace your background, fix your lighting mood and stage your product in a scene — but it cannot recover detail that was never captured. Your one job at the shooting stage is a sharp, well-lit, honest photo of the product.
Light: use a window, not a lamp
Indirect daylight beats every cheap lighting kit. Put a table next to your largest window, out of direct sun. Direct sunlight creates hard shadows and blown-out highlights; a bright overcast day is literally professional-grade diffused lighting, free.
If you must shoot at night, bounce a lamp off a white wall or hang baking paper in front of it. Never point a bare bulb at the product.
Background: anything plain
You don't need a white sweep, because the background is getting replaced anyway. What matters is contrast and separation: put a dark product on a light surface and vice versa, and leave 20–30 cm between the product and whatever is behind it. This makes the AI cutout flawless at the edges.
Phone settings that matter
- Clean your lens. Genuinely the highest-impact tip in this article. A smudged lens is why photos look hazy.
- Tap to focus on the product, then drag exposure down slightly. Slightly dark preserves detail; blown-out white is unrecoverable.
- Never use digital zoom. Step closer instead, or shoot wide and crop.
- Shoot at the product's level, not down at 45° from standing height — eye-level shots look intentional.
- Take 10+ frames per product. Storage is free; reshoots are not.
Angles to capture per product
Shoot this checklist once and you'll have material for every image slot Shopee or Lazada gives you: front-on, 45° three-quarter view, straight-on side, top-down, one close-up of the texture/label, and one "in hand" for scale.
Step 2: Remove the background (1 minute, RM0)
Run your best frame through a free background remover. You'll get a clean cutout PNG with transparent background. At this point you already have a usable white-background cover image — drop the cutout on a pure white canvas and you've matched what marketplaces want from a cover.
Zoom to 100% and check the edges, especially around handles, straps and gaps. If an edge is rough, the cause is almost always low contrast in the original — reshoot that one frame against a plainer surface rather than fighting it in an editor.
Step 3: The AI staging step (1 minute, ~RM1)
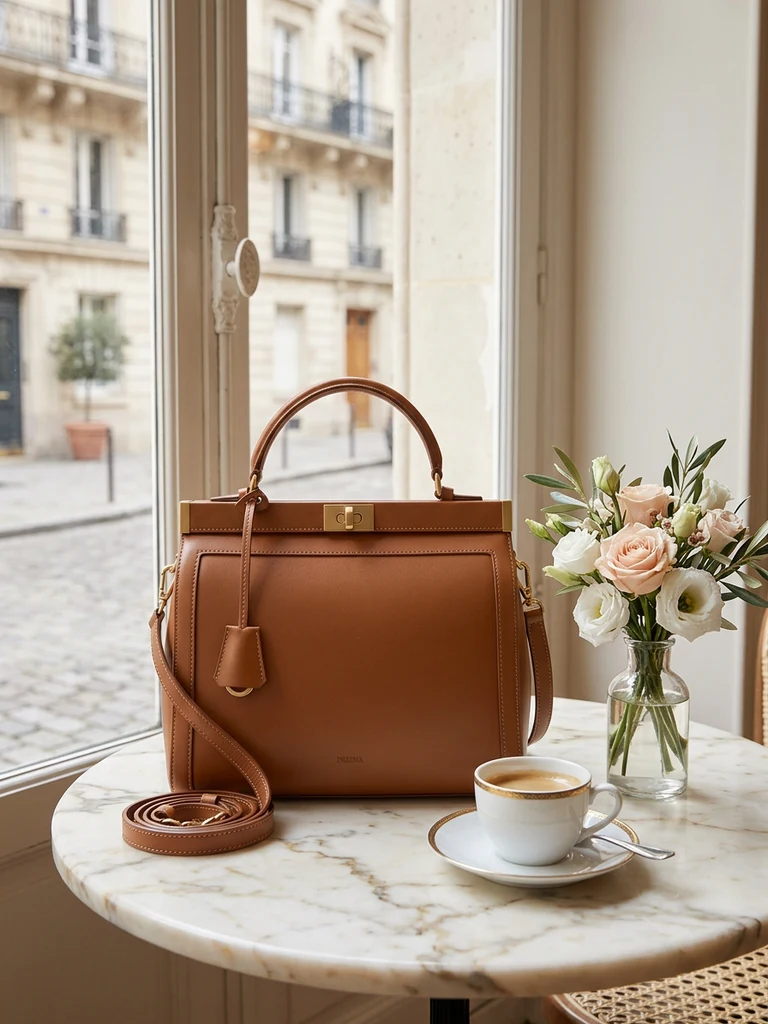
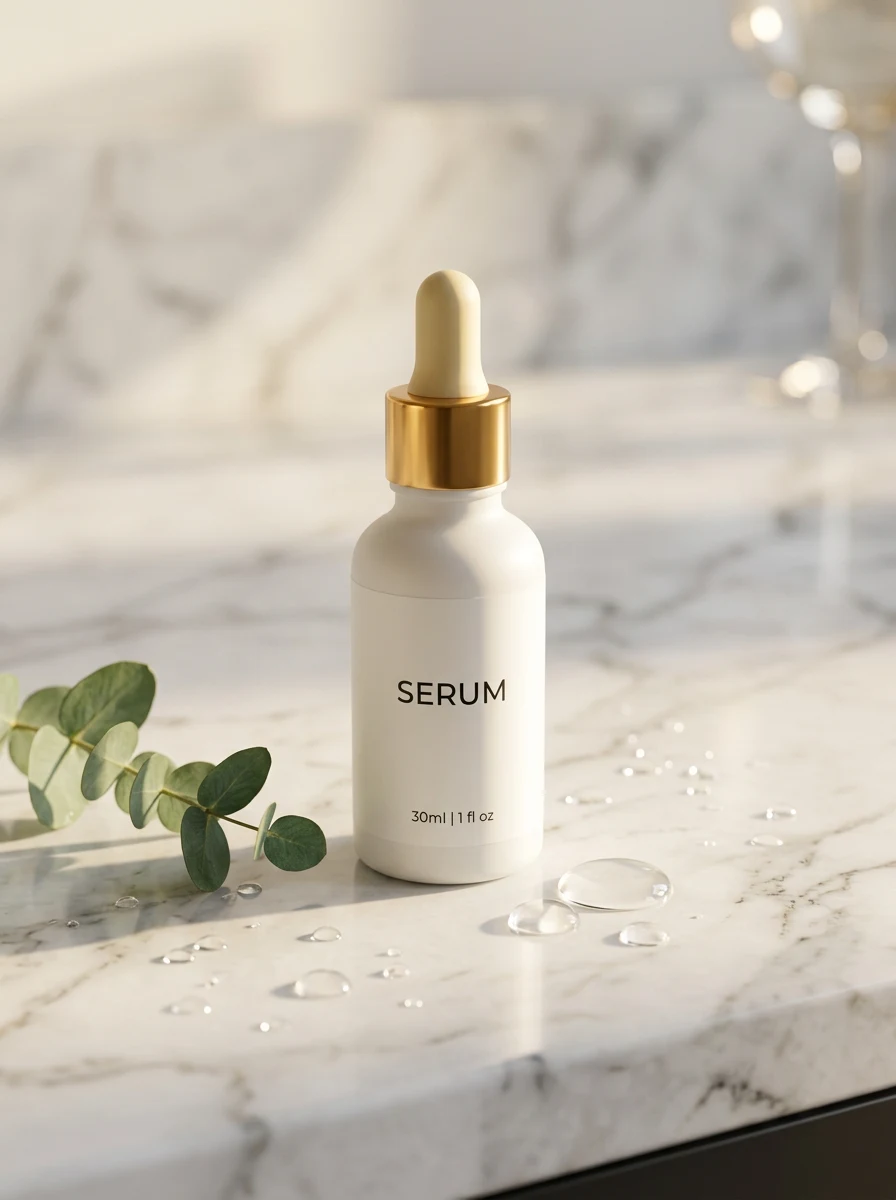
This is where the photographer-equivalent quality happens. Background-swap AI (also called product recontext) takes your photo and regenerates everything around the product: surface, scene, lighting, shadows — while the product itself stays pixel-identical.
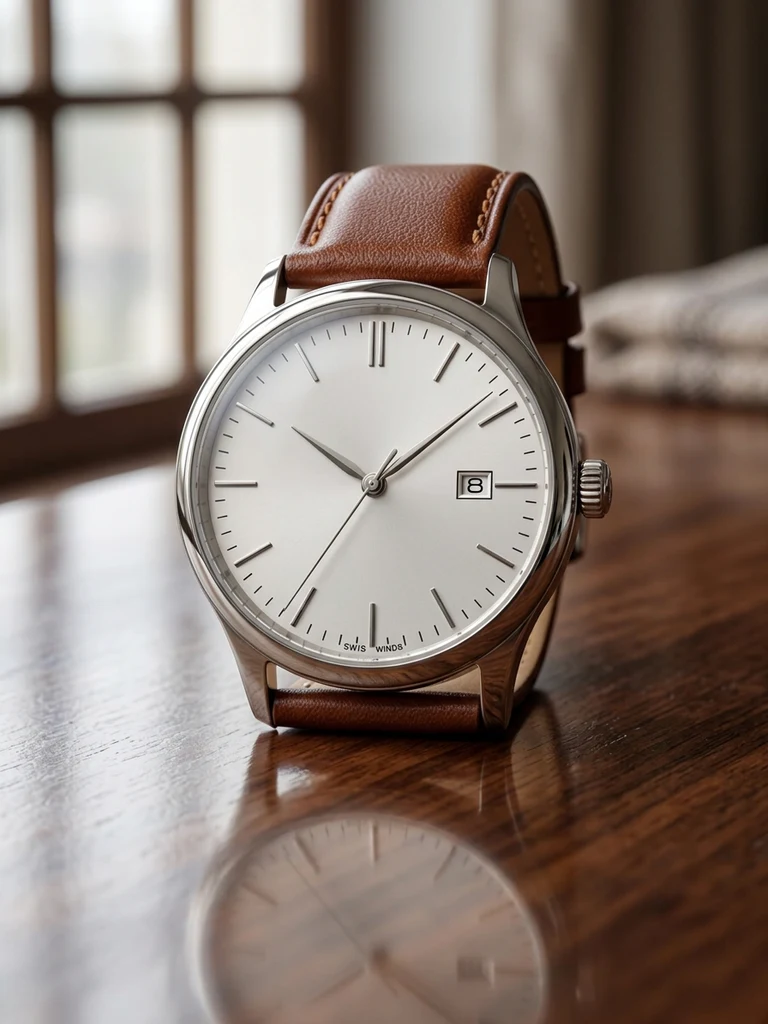
In Product DIY's background swap you pick a scene preset — clean studio white, marble counter, outdoor lifestyle, or platform-specific looks for Shopee, Lazada and TikTok Shop — and generate. Two engines produce two takes; keep the better one. A finished image costs around 100 credits (~RM1), and a new account's 500 free credits cover your first few SKUs entirely.
Three tips that raise the hit rate:
- Match physics. A heavy product on a "floating silk" background reads as fake. Pick scenes where your product would plausibly sit.
- Generate the cover in 1:1 and secondary images in 4:5 or 3:4 — you choose aspect ratio before generating, which beats cropping after.
- Describe the mood, not the object. The AI already sees your product; your prompt should describe the scene ("warm morning light, wooden kitchen table, shallow depth of field").
Step 4: The finishing pass (5 minutes, RM0)
A free editor pass turns a good image into a listing-ready one:
- Resize to each platform's spec — 1:1 1024 px covers for Shopee, see the Lazada size guide for Lazada's slots.
- Add a discreet promo badge ("Free shipping", "11.11") on secondary images, never the cover — busy covers get suppressed in some ad placements.
- Keep one completely honest, unstaged photo in your gallery. Buyers trust listings that include a plain "what you actually get" shot, and it measurably cuts disputes.
The complete workflow, summarised
| Stage | Tool | Time | Cost |
|---|---|---|---|
| Shoot 10 frames by a window | Your phone | 15 min | RM0 |
| Cut out the background | Free remover | 1 min | RM0 |
| AI scene generation | Background swap | 1 min | ~RM1/image |
| Resize, badges, export | Free editor | 5 min | RM0 |
Roughly 20 minutes and one ringgit per SKU, versus RM30–80 per photo outsourced. The quality ceiling of a real studio shoot is still higher — for hero banners and packaging design, hire the professional. For the 5–9 images on a marketplace listing, this workflow is what most of your competitors with "professional photos" are quietly doing already.
Common mistakes to avoid
- Shooting against a cluttered background to "save time." Cutout quality is set at capture time. Plain background in, perfect edges out.
- Letting AI redraw the product itself. Tools that "beautify" the product create photos a buyer can dispute. Use tools that lock the product and only change the scene.
- One photo per SKU. Listings with 5+ images convert dramatically better. You shot 10 frames — use them.
- Skipping the honest photo. One real, unstaged frame protects your seller rating more than any aesthetic improvement.
Try it on your own product photos
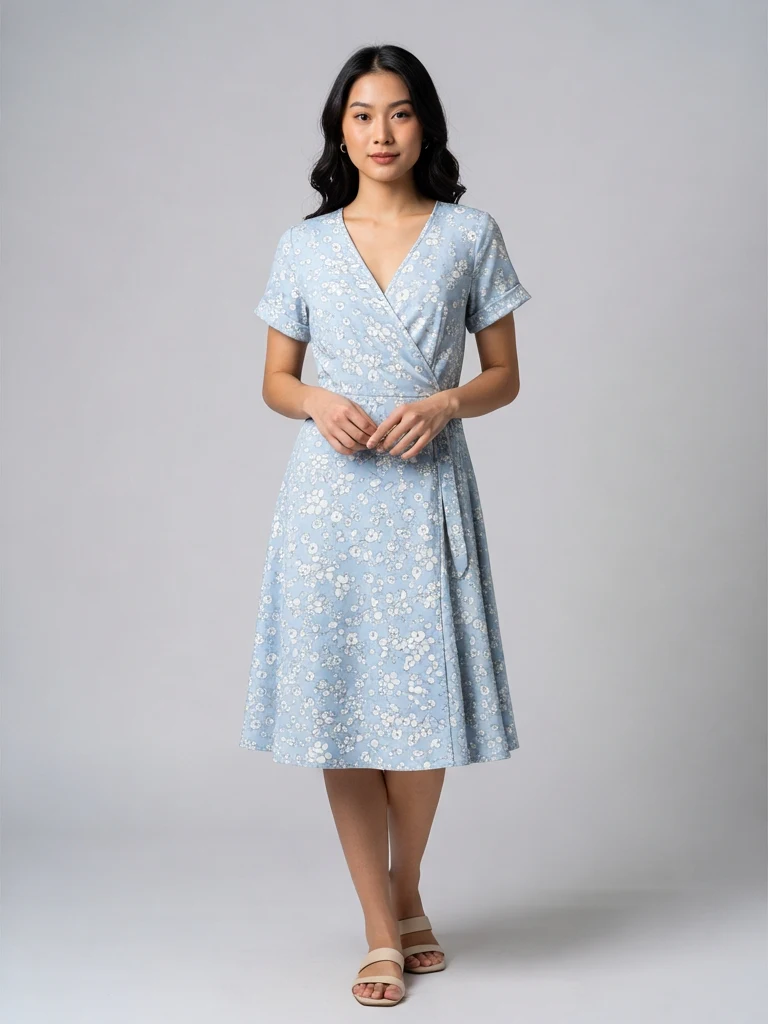
Product DIY turns one casual phone photo into professional listing images, ad posters and try-on shots. New accounts get 500 free credits — no card needed.
Open the Free Studio