Virtual Try-On for Online Clothing Stores: The Practical Guide
Clothing has the highest return rates in e-commerce — commonly 20–40% — and the top reason is always the same: it didn't look like it did on the model. The irony is that most small clothing sellers can't afford a model at all, so they list flat-lay photos… which convert worse than on-body shots by a wide margin.
AI virtual try-on closes exactly this gap: it takes your flat garment photo and renders it worn — on a preset model or on a photo you provide — with realistic drape, fit and lighting. Here's how it actually works, where it shines, where it fails, and the workflow that gets consistent results.
What virtual try-on actually does
You provide two images: the garment (flat lay or hanging shot) and the person (a preset model or your own model photo). The AI maps the garment onto the body, simulating how the fabric falls, creases at joints, and catches the scene's light.
A generation takes 30–60 seconds and costs roughly RM1–3 depending on resolution. Compare that to a real model shoot in Malaysia — RM500+ per half-day once you count model, photographer and editing — and the economics explain why fast-fashion shops adopted this first.
The serious tools (including ours) use a dedicated try-on model for the garment mapping plus an enhancement pass for fabric detail, rather than a general image generator with a "wear this" prompt. The difference shows in pattern continuity — checks and florals staying aligned across seams is the tell of a real try-on pipeline.
Where it works brilliantly
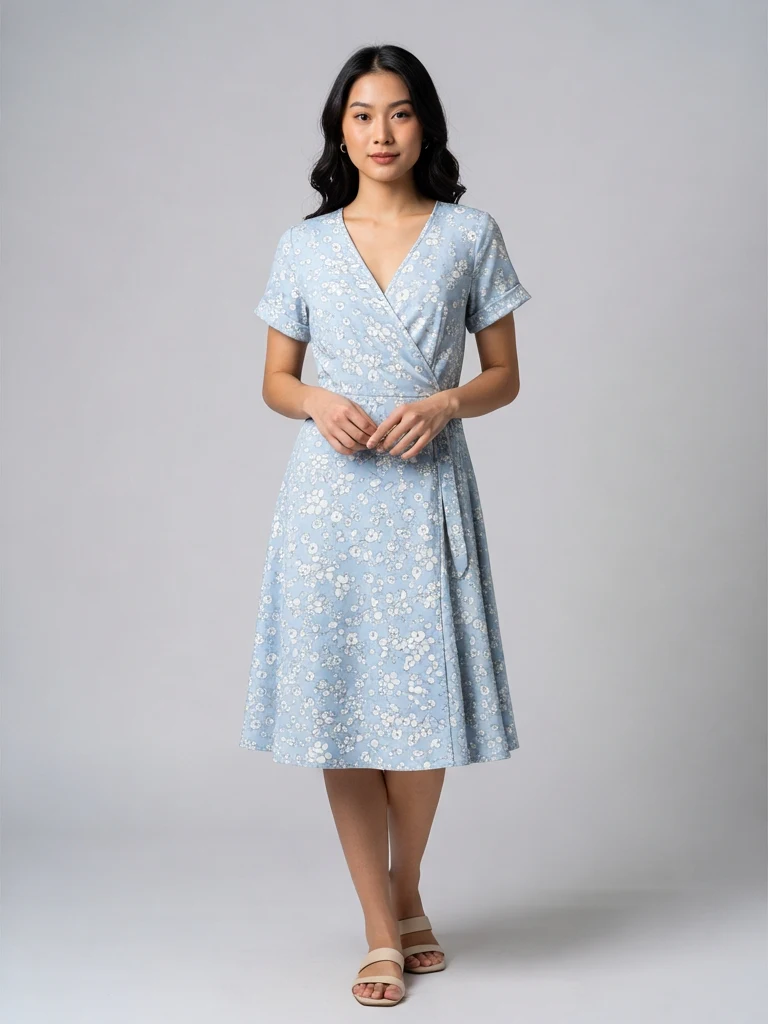
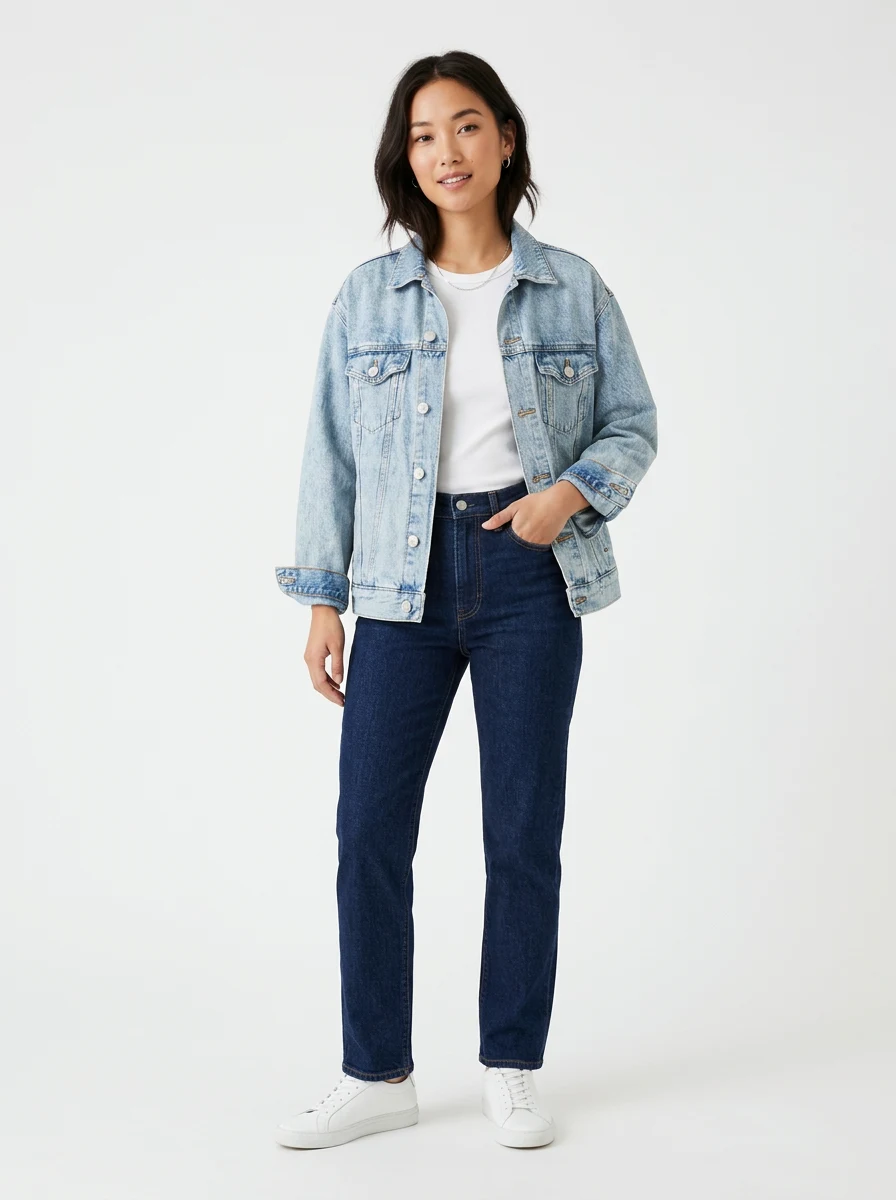
- Tops, dresses, outerwear: structured garments with clear silhouettes map extremely well.
- Pattern-heavy pieces: the print is preserved from your actual product photo, so what the buyer sees is your real fabric — this matters for disputes.
- Catalogue consistency: every SKU on the same model, same pose, same lighting. Even brands with photo budgets struggle to keep that consistent across seasons.
- Modest fashion: preset models with hijab exist precisely because Malaysian and Indonesian sellers asked for them — an underserved segment in Western tools.
- Size-inclusive display: showing the same dress on different body types without booking different models.
Where it still fails (check before publishing)
- Heavy structural detail: boning, complex layering, asymmetric cuts can lose definition. Generate, zoom, verify.
- Accessories-dependent looks: belts and brooches sometimes merge into the garment.
- Extreme fabrics: sheer organza and high-shine satin occasionally render with plastic-looking highlights.
- Fit claims: try-on shows style, not sizing. Keep your measurement chart; never let a generated image stand in for fit data.
The professional habit: treat each generation like a photo from a shoot — review at 100%, reject the bad frames, regenerate. At ~RM2 a frame you can afford to be picky.
Getting the best results: the garment photo is everything
The try-on output quality is set by your input photo. The checklist:
- Shoot the garment flat and fully visible — laid on a plain floor or bed, or on a hanger against a wall. No folds hiding the silhouette, sleeves arranged naturally.
- Even, diffused light — window light works; avoid hard shadows across the fabric that the AI will read as print.
- True colour — photograph next to something white so you (and the model) can verify the shade didn't drift.
- Full garment in frame — cropped hems force the AI to invent the missing part. Don't make it guess.
- High resolution — texture in, texture out. A sharp 12 MP phone photo is plenty; a WhatsApp-compressed thumbnail is not.
If your source photos have messy backgrounds, run them through a free background remover first — clean garment edges measurably improve the mapping.
The disclosure question
Should you tell buyers an image is AI-generated? Increasingly, yes — and it's becoming law in some markets. The EU AI Act requires labelling synthetic media; several platforms now have disclosure checkboxes for AI-generated model imagery.
The pragmatic policy for SEA marketplace sellers in 2026: use try-on images freely in your gallery, keep at least one real photo of the physical garment (your flat lay belongs in the listing too), keep your size chart authoritative, and add a simple "model image AI-generated" line in the description where required. Sellers get in trouble for misrepresentation, not for the technology — the garment in a proper try-on image is your real product photo, which is exactly the point.
A realistic workflow for a 30-SKU clothing shop
- One flat-lay session: all 30 garments, window light, plain background — one afternoon.
- Pick 2 preset models (or upload your own model photos once) and keep them constant across the catalogue for a consistent brand look.
- Generate, curate, regenerate: budget 2 generations per SKU; keep the best.
- Build each listing: flat lay + try-on shot + detail close-up + size chart. The Shopee and Lazada guides cover slot order.
Cost: roughly RM60–120 in credits for the whole catalogue, versus RM1,500+ for an equivalent two-model studio day. Time: a weekend, including the photography.
For shops where on-body imagery was the blocker between "side hustle" and "real store," this is the cheapest unlock that exists right now. Try it on your most pattern-heavy piece first — the first generations are covered by free signup credits — because if the AI keeps your print aligned, everything easier will work too.
Try it on your own product photos
Product DIY turns one casual phone photo into professional listing images, ad posters and try-on shots. New accounts get 500 free credits — no card needed.
Try Virtual Try-On