How to Remove the Background from Product Photos (Free, No Signup)

Background removal is the single most common edit in e-commerce — every white-background marketplace cover starts with a cutout. It's also the edit with the biggest gap between "free and instant" and "tedious and manual," depending on which method you pick. Here are the three free ways to do it, when each one wins, and how to fix the edge problems that make cutouts look amateur.
Method 1: AI removal in the browser (the default)
For 95% of product photos, AI segmentation gets a clean cutout in a few seconds: upload, wait two seconds, download a transparent PNG.
Our free background remover does this with no signup, no watermark, and no daily limit — upload, download, done. (Why free? Honestly: some users later want the paid scene-generation tools. The remover itself is genuinely unlimited.)
What AI handles effortlessly:
- Hard-edged products: boxes, bottles, electronics, shoes
- Multiple objects in one frame
- Hair-thin details like cables and straps — modern models trace these well
- Semi-transparent areas: glass and liquid come out with usable alpha edges
What still trips any AI remover:
- Product and background the same colour (white bottle, white table) — the model can't find the boundary you can't see either
- Motion blur or out-of-focus edges — the boundary is genuinely ambiguous
- Reflections that contain the background — the cutout is clean but the chrome kettle still shows the old room in its reflection
The first two are capture problems: reshoot against a contrasting surface and the cutout becomes trivial. The reflection problem has a different fix — see the end of this guide.
Method 2: your phone's built-in lift (quick but limited)
iPhone (iOS 16+) and recent Android phones can lift a subject straight from the Photos app: long-press the product in a photo and it pops off the background.
It's genuinely convenient for one-off social posts. For marketplace listings it has two problems: the output resolution is whatever crop the OS decides, often below the 1024 px marketplace threshold, and edge quality on complex products lags dedicated models. Use it for Stories; use a real remover for listings.
Method 3: manual path tracing (the special-case tool)
Tracing the product outline by hand (the pen tool in any serious editor) is how it was done before AI, and it still wins in exactly one scenario: when you need a deliberate, stylised edge — say a sticker-style white outline, or a precise geometric crop for a brand catalogue with strict guidelines.
For everything else it's 20 minutes per image to match what AI does in two seconds. Know it exists; almost never use it.
Fixing the four common cutout problems
1. Halo / fringe of the old background colour. A thin line of the old background hugging the edge. Most editors have a "defringe" or edge-shift; pulling the matte inward by 1 px removes it. Prevention: avoid strongly coloured backgrounds at capture (that lime-green wall reflects onto your product's edges).
2. Chewed-up fine details. Mesh, fur, loose threads come out blotchy when the original was low-contrast or noisy. Fix at capture: more light, lower ISO, plain background. No editor recovers detail that was never resolved.
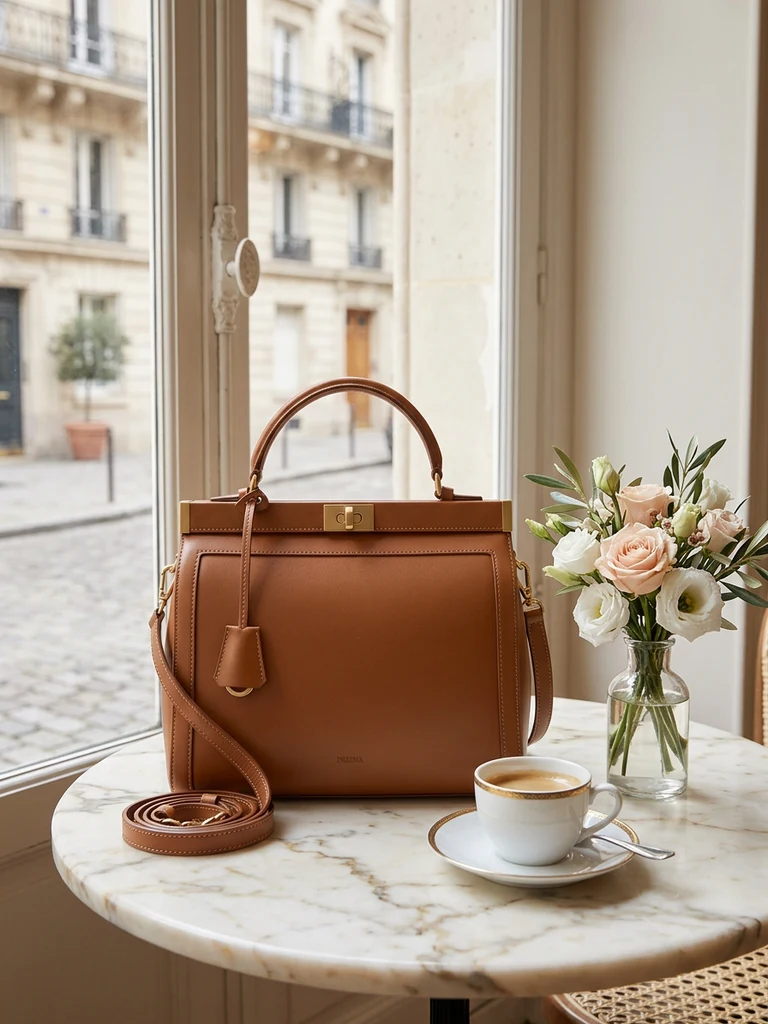
3. The floating-product look. A perfect cutout on pure white can look pasted because real products cast contact shadows. Either add a soft ellipse shadow at 15–20% opacity under the product in any editor, or skip the manual work and use a background swap that generates the product on a white scene with physically correct shadow — that's the difference between "cutout" and "studio shot."
4. Reflections showing the old room. Chrome and glossy products mirror their environment. The honest fixes: reshoot with a large white card facing the product (the reflection becomes a clean white gradient), or accept scene regeneration where the AI builds reflections matching the new background.
After the cutout: what the transparent PNG is for
A cutout is an ingredient, not a finished listing image. The three standard destinations:
- Marketplace white cover — place on pure #FFFFFF at 1024–1200 px square, product at 85% of frame, soft shadow. This is the Shopee and Lazada compliance format.
- Lifestyle scene — re-stage the product in a kitchen, on marble, in a festival theme. Faster via AI scene generation than collaging stock photos, and the lighting will actually match.
- Posters and graphics — the transparent PNG drops into banners, vouchers and ad posters without an ugly white box around it.
Quick reference
| Situation | Use |
|---|---|
| Marketplace listing, normal product | AI remover (browser, free) |
| Quick social media post | Phone's built-in subject lift |
| Stylised edge / strict brand spec | Manual path tracing |
| White-on-white product | Reshoot on dark surface first, then AI |
| Glossy/chrome product | White card at capture, or full scene regeneration |
Total cost of doing this properly: RM0 and about a minute per product. The marketplace cover that used to be the reason sellers paid for "basic retouching" is now the warm-up step.
Try it on your own product photos
Product DIY turns one casual phone photo into professional listing images, ad posters and try-on shots. New accounts get 500 free credits — no card needed.
Remove a Background Free